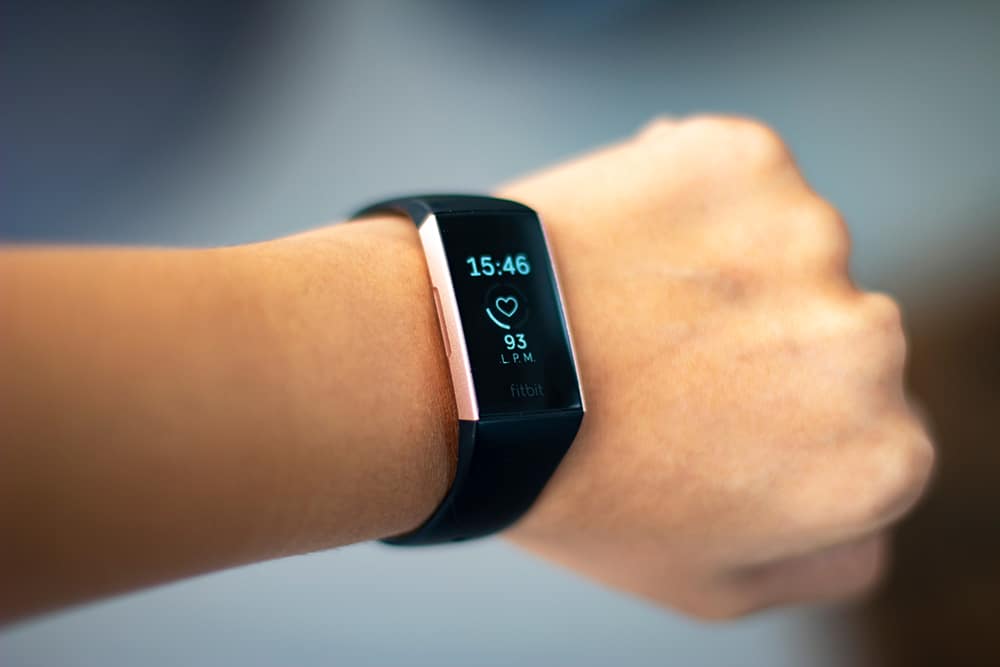
Fitbits have become hugely popular and are one of the leading fitness trackers in the world, allowing you to take control of your training regime and monitor your progress at all times while exercising or resting.
The beauty of the Fitbit however is that it’s easy to customize and you can conveniently swap the wristband from a workout safe option to a more fashionable option in a few moments, which makes this device super convenient and suitable for all sorts of occasions.
In this guide, we’re going to show you how to swap the wristband of your Fitbit easily and safely so that you can seamlessly swap or clean your bands and the watch quickly and effectively.
There are many types of bands available for the Fitbit from sports bands with excellent ventilation, to more fashionable leather or bracelet style bands depending on the occasion you wish to attend.
Regardless of what you plan to swap the band for, the process is very simple, providing you follow the steps correctly!
1. Remove The Band
The first thing to do is to remove the band that’s already attached to the watch, and this is a very simple and easy process regardless of which Fitbit you own.
There may be some slight differences depending on the specific band and model you use, but most function in a similar fashion.
Look for the band latched on the backside of the watch face, where the bands attach to the watch itself.
Release the latch by sliding the button towards the band with a steady and controlled amount of pressure to avoid damaging the button or the watch.
As the latch is pushed into place, carefully withdraw the band from the watch and it should detach very easily from the watch body itself.
Now simply do this for the opposite band, pressing the latch towards the band and withdrawing the band from the watch body.
2. Attach The Band
Attaching the new band to the watch is a very simple process, and while there may be some small differences depending on the model of Fitbit you use, they will generally follow the same pattern as this guide.
If you’re in doubt, always make sure to check the instructions that come with the watch itself, as the manual will be able to give specific instructions for the particular model of Fitbit you have.
To attach the band to the Fitbit, press the attachment point into the slot in the watch body, ensuring that it’s facing the correct direction.
As you push it into the watch you should hear a faint clicking sound which is the attachments securing themselves in place.
From here you simply need to attach the other band in the same manner, pushing it gently into the attachment point until you hear a faint click.
Once seated, give them a light pull to ensure they are properly positioned and attached to avoid the risk of losing the watch while you’re out exercising!
The Different Fitbit Models
Some different Fitbit models use slightly different attachments and we’re going to take a quick look at these to make sure you don’t make a mistake when installing your new bands.
Fitbit Charge 3
The charge 3 uses attachments that are very similar to the charge 2, and is similar to the guide above, requiring you to press down on the button on the strap to release it from the watch body.
To reattach a compatible band to the charge 3 you simply need to push it into the latch until it snaps into position.
Fitbit Ionic
The Fitbit Ionic is very similar to the Charge 3 and requires you to locate the band latches, and pressing down on the flat button on the straps on both sides of the watch before it will release.
To reattach, simply line the strap attachment point with the latches on the watch and press them into place until you hear a click.
Fitbit Inspire
To release this strap, simply locate the quick release levers on the rear of the watch which should be at either side of the tracker.
From here, you can release one band by pushing the lever inward and pulling the band away from the watch, and repeating on the other side.
Attach the new strap by lining up the pins of the attachment point with the holes in the tracker near the release lever.
Once one side of the pin is tucked into place, you can push the lever in and slide the other pin in.
Fitbit Alta
For the Fitbit Alta, you must turn the track onto its front and locate the attachment points.
Then push down on the flat button on the strap and pull the strap away from the watch simultaneously.
Then simply repeat this process for the other side of the strap.
Key Tip
If you’re having trouble detaching a strap from any of these models, try pushing it back into place properly and then restarting the process, as sometimes the strap and its attachment points can become stuck in place, and it’s better to totally restart the process than potentially breaking the strap attachment point or the attachment point of the tracker itself.
Giving the strap a gentle jiggle in place before attempting to release it will ensure that it isn’t damaged or seized in place and this will make the process of removing the strap much easier than trying to remove one that is stuck.