4 Ways of Kicking Out The Jams On Your Fitbit Versa Sans Phone
Releasing an ergonomic smartwatch designed exclusively for women was a noble and inclusive move — we salute you, Fitbit.
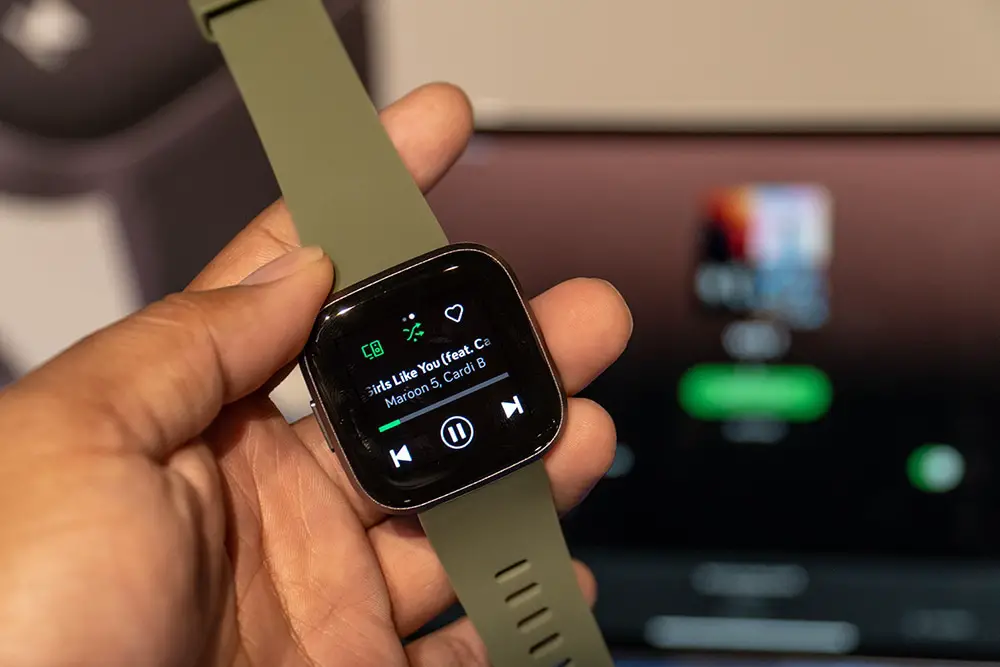
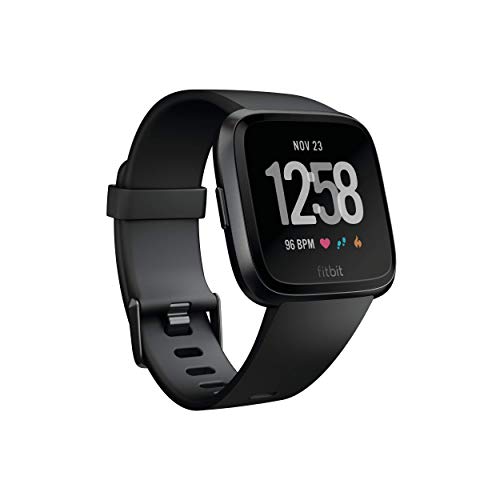
The Fitbit Versa is by far their best rendition of smart wrist-tech to date, loaded with nifty features such as female-specific health-tracking protocols, Alexa compatibility, sleep tracking, and of course the topic of today’s article, phone-free tunes!
In this time of space exploration, cloud computing, and artificial intelligence, a watch that plays music may not seem like such a huge technological splash, but the practical benefits are undeniable.
Imagine going for a run without lugging your hefty iPhone with you. Sounds pretty nice, right?
Not only will you feel lighter, but there’s nothing to fall out of your pocket and smash into a million extremely expensive pieces on the floor.
But before you can enjoy your phoneless musical adventure, you’ll need to put all your favorite psych-up tunes into your Fitbit Versa’s integrated memory.
Let’s take a look at a step-by-step guide and how this can be accomplished.
Transferring Music From Streaming Platforms To Your Fitbit Versa
The easiest way to load your Fitbit Versa up with all your high-octane workout bangers is to draw them directly from a streaming service. The Versa offers full support for Deezer and Pandora, and Apple Music (sort of…after some file tinkering).
Transferring Music To The Fitbit Versa From Deezer
Deezer offers the most detailed music control interface, so if you’re looking for optimized functionality, it’s a no-brainer. You will, of course, need a Deezer subscription to use the service, but luckily, their annual plans work out cheaper than competitor platforms’ monthly fees.
If you’re not so sure which streaming service is right for you just yet, why not take advantage of the 90-day free trial Deezer offers the Fitbit clan?
Step 1. Your first port of call is to download the Fitbit app from the app store. There are a few different Fitbit apps, but don’t let that phase you; we’re on a musical mission here! Select the one titled simply, “Fitbit”, with a dotted logo.
Step 2. Once it’s finished downloading, launch the app and log into your Fitbit account.
Step 3. You should see a picture of the Fitbit Versa pop up on the top right-hand side of the app dashboard. Click it.
Step 4. On the right-hand side of the Fitbit menu, you’ll see a selection of large icons. Select the one with the beamed notes symbol labeled “Media”.
Step 5. You’ll then see three options on the left-hand side of the app, Deezer, Pandora, and Personal Music. Select Deezer.
Step 6. Your Fitbit will then provide you with a Deezer activation code. Visit fitbit.com/deezer and type the code in.
Step 7. Now’s the time to log into or create a Deezer account. Make sure your device and Versa are paired.
Step 8. Return to the Fitbit app and look for an option in the Deezer menu labeled “Add Music”. Select it.
Step 9. Choose your pump-up playlist, and voilà; you’re done! Easy, right?
Not only can you download your perfectly curated playlists to match any mood, you can also siphon off the playlists from Deezer’s Flow Station that crafts custom lists based on your listening tastes.
The setup process isn’t exactly streamlined, comparatively speaking, but, ultimately, the Deezer/Fitbit collaboration gives you the most control over your music on the go, which is why it’s my favorite of the three options.
Transferring Music To The Fitbit Versa From Pandora
If you’re looking for an easy-breezy music-to-smartwatch transition, then you’ll prefer Pandora to Deezer.
It’s only the Pandora Premium service that’s supported on the Fitbit ecosystem, so make sure you choose the right one. It’s roughly the same price as Deezer, but if you’re looking to take advantage of a free trial period, the best they offer is 30 days.
Step 1. Download the app from the app store…yada, yada, yada.
Step 2. Select the “Media” button in the Versa section of the Fitbit app.
Step 3. Select Pandora from the services list.
Step 4. Log in to your Pandora account, create a new one, or start a free trial.
Step 5. Sync your “Top Pandora Stations”, or up to 3 of Pandora’s most used “Workout Stations”.
I know what you’re thinking…what, you don’t get to pick specific playlists? Well, nope, I’m afraid you don’t, which is why I much prefer Deezer.
Transferring “Personal Music” To The Fitbit Versa
By “Personal Music”, your Versa means music you have stored locally on your computer or smartphone. Those who aren’t willing to fork out for a streaming service can simply use this method to transfer their “owned” music across to their Versa.
Step 1. Download the app, etc.
Step 2. Select “Media” in the Versa menu of the Fitbit app.
Step 3. Select “Personal Music” from the services menu.
Step 4. Visit fitbit.com/global/setup.
Step 5. Search for and download the Fitbit Connect app.
Step 6. Once the app is installed on your computer, there should be a large tile that reads “Manage My Music”. Click on it.
Step 7. Now open up the music app on your Fitbit Versa and select “Transfer Music”.
Step 8. Give your Versa a moment to link up to your computer, then simply choose which playlists you want to transfer.
Step 9. To choose which file locations the Connect app searches for music, click on the settings menu in the top right-hand corner, then “Advanced Settings”, the “+” symbol, and, finally, select a folder of your choice.
While I’m glad Fitbit has included local music compatibility, it’s not a perfect system. Expect semi-frequent, super irritating dropouts between the Connect app and your Versa as you’re trying to transfer your tunes.
What About Apple Music?
It’s a bit of a faff to transfer tunes to your Versa from Apple Music, but it is possible.
Step 1. Download the songs you wish to transfer.
Step 2. Use a file conversion program to convert the encrypted files to Mp3 files.
Step 3. Follow the “Personal Music” transfer instructions above.
Summing Up
There you have it, folks. Now you can listen to your favorite slaps on the go without your phone or computer!
Granted, some of the transfer methods are a little cumbersome, but the good news is that you’ll get the hang of it after a few goes, rendering guides like this one happily redundant!
Or if you want something a little easier why not check out our guide to music trackers.
Last update on 2023-01-22 / Affiliate links / Images from Amazon Product Advertising API